Pages

Showing posts with label DIY Projects. Show all posts

2.11.11

How to Make a Lacy Black Top

Transform a plain, simple black spaghetti



into a lacy classic black top!



Today, I'm feeling a little crafty and so I've decided to re-invent my plain, black spaghetti into something elegant and classy - a lacy top! So, are you ready to get creative today? You can do the following invention in just thirty minutes to an hour (even less, if you're fast)!

Things you'll need:


Plain black spaghetti top
scissors
white thread
lace (about 1.5 to 2 inches wide)
basic sewing skills


Let's get started!


  • Make a small fold on the top end of the lace. You may iron it out if you want.


[caption id="attachment_186" align="aligncenter" width="225" caption="small fold on top"][/caption]

  • Sew a loose running stitch over the folded area of the lace. Make a small fold on one end of the lace before you start stitching.

    [caption id="attachment_174" align="aligncenter" width="225" caption="This is your anchor"][/caption]


[caption id="attachment_200" align="aligncenter" width="300" caption="Perform a loose (wide-spaced) running stitch"][/caption]

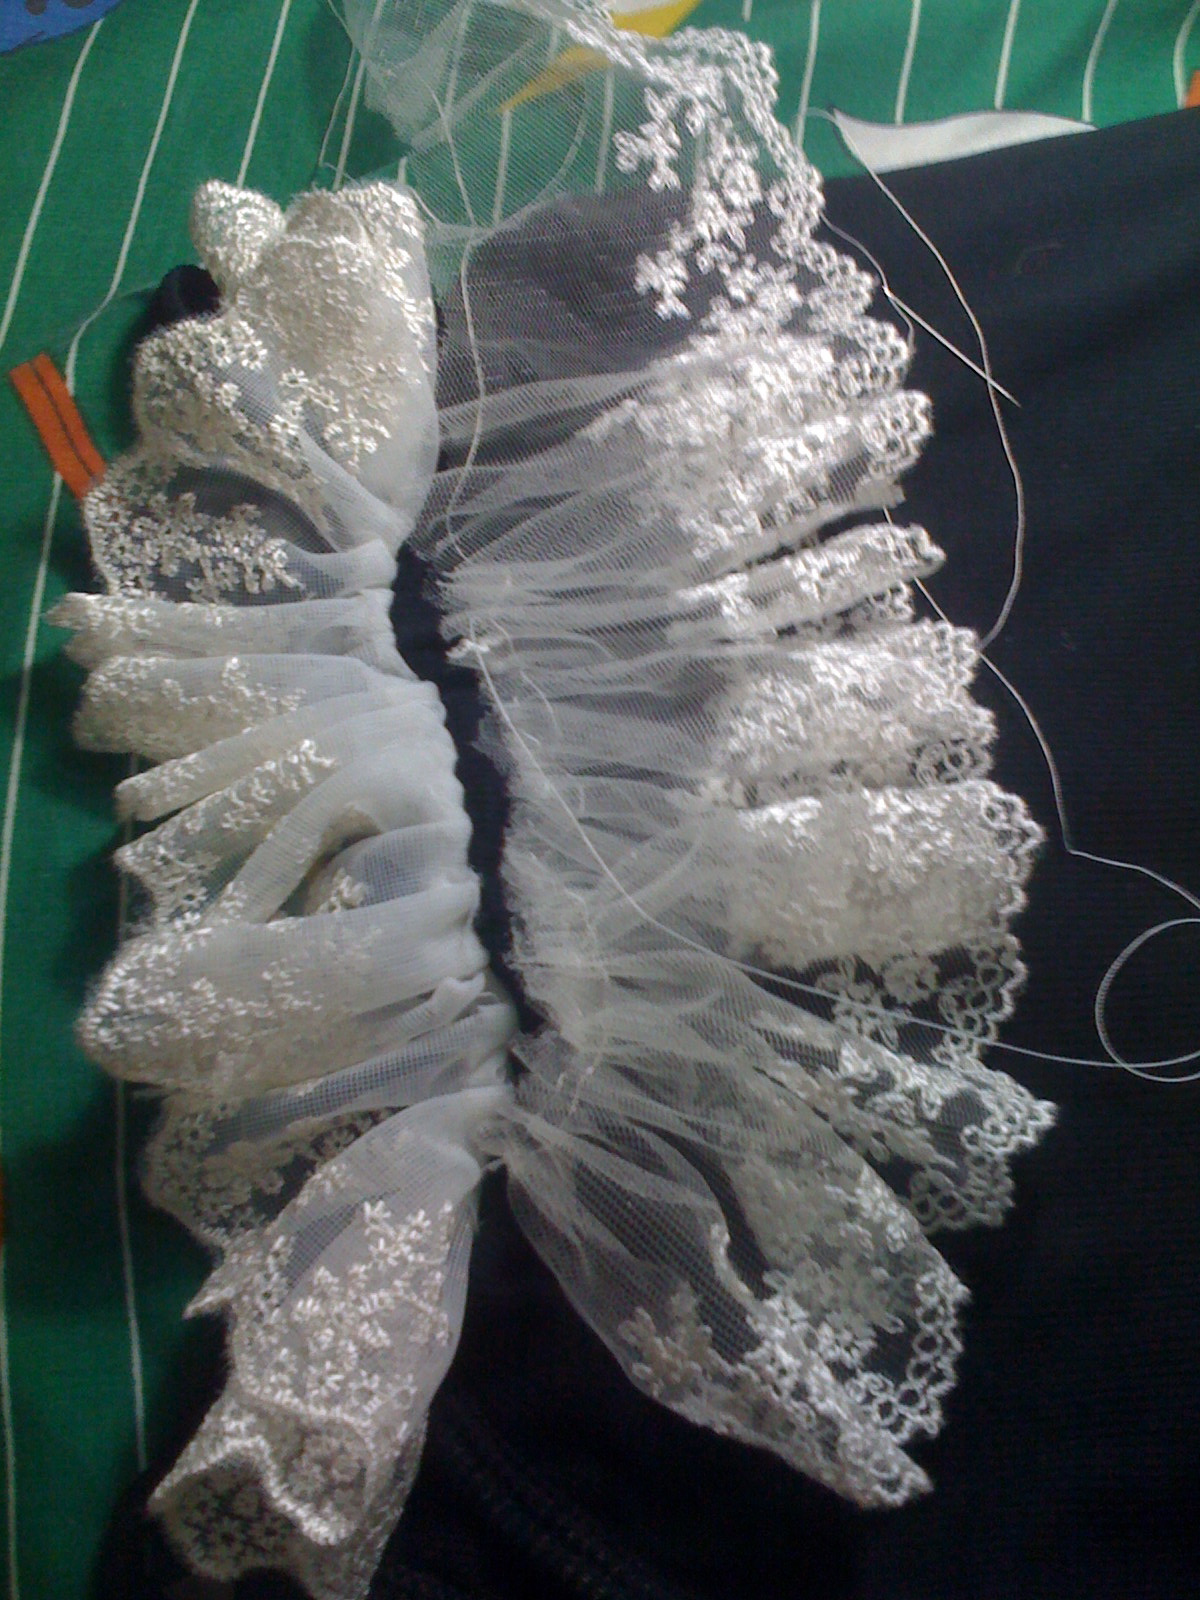
  • After making the running stitch, it's time to create "the waves" - you can simply push the lace to one end (the one where your anchor is).


[caption id="attachment_203" align="aligncenter" width="300" caption="Push the lace to one side and you create the waves"][/caption]

  • Once you already have your "wavy lace," it's time to transfer it to the top. You should pass the needle and thread from the back of the top to the front and pass it through the "wave" of the lace. See the diagram below.


[caption id="attachment_206" align="aligncenter" width="430" caption="Take note where the needle should insert"][/caption]

[caption id="attachment_187" align="aligncenter" width="225" caption="This is how your work should look like"][/caption]

  • You should make sure that you've sewn securely the lace to the top. If you're going to take a peek at the back side of the top, it will look like this:


You can hide the white patches (thread) by using a black marker.


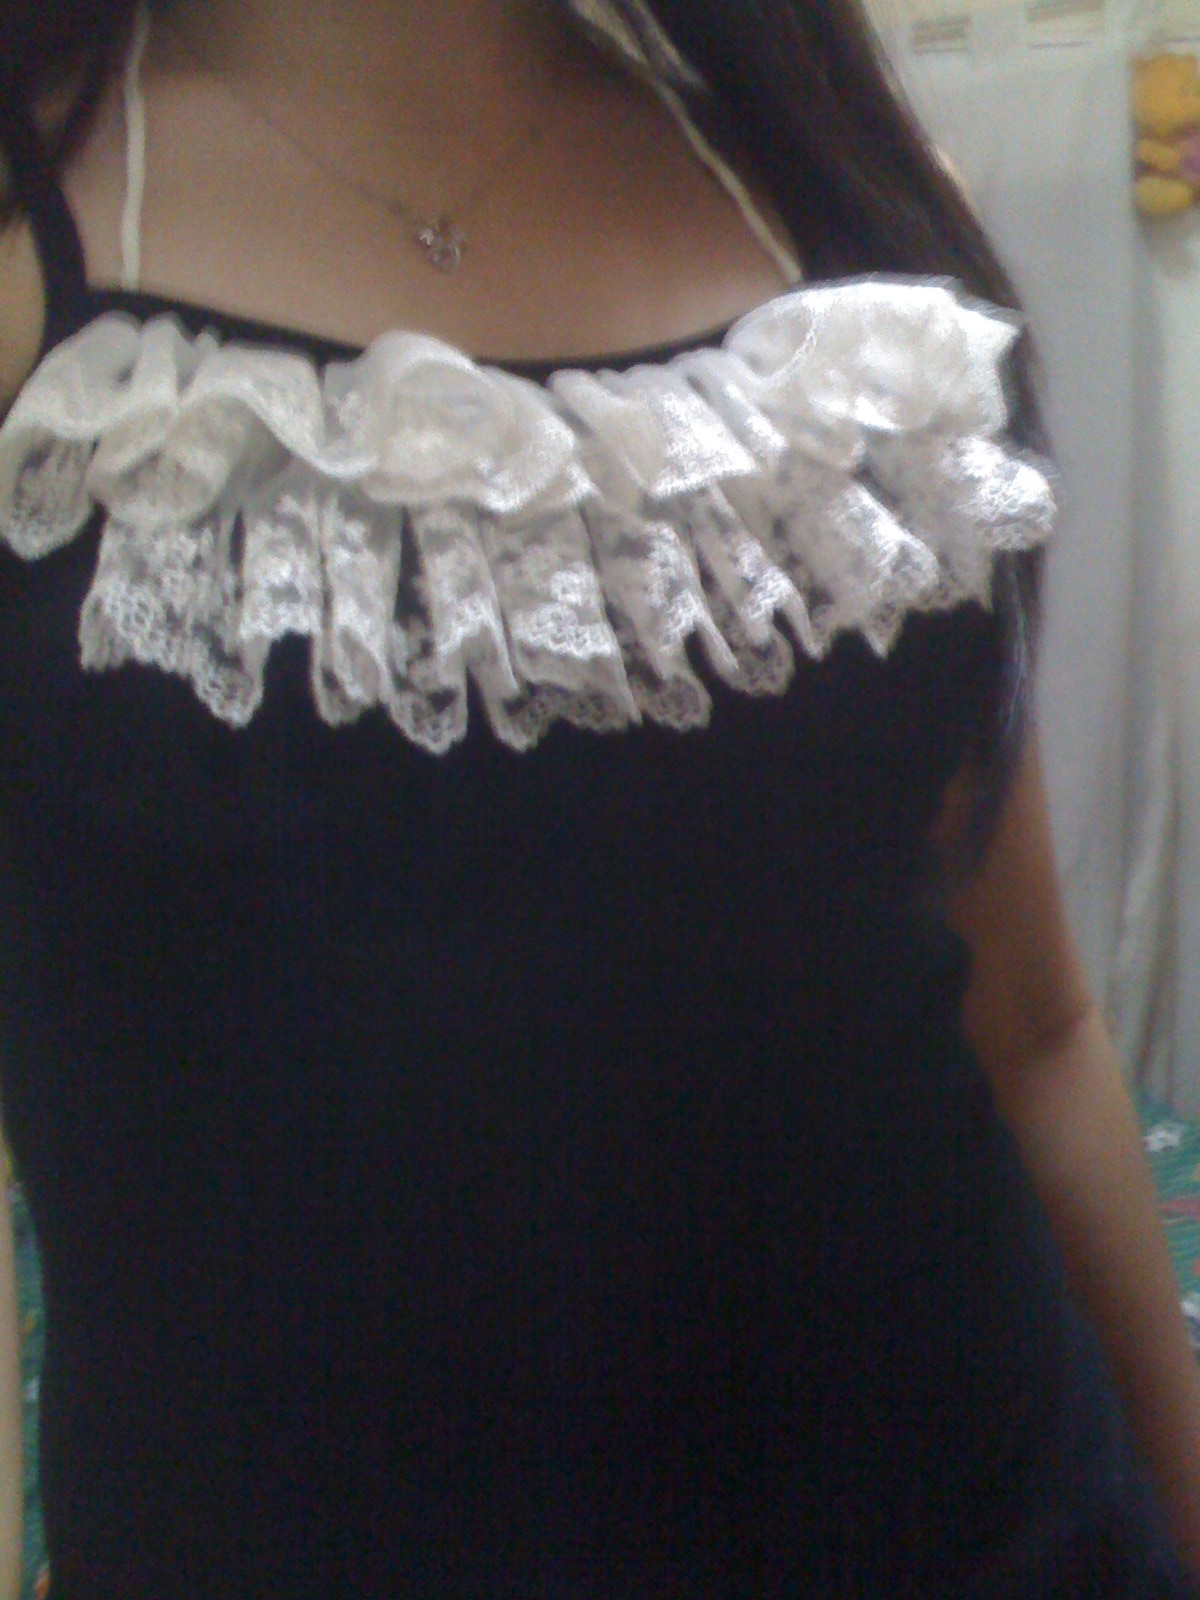
Finished product:


Variations:


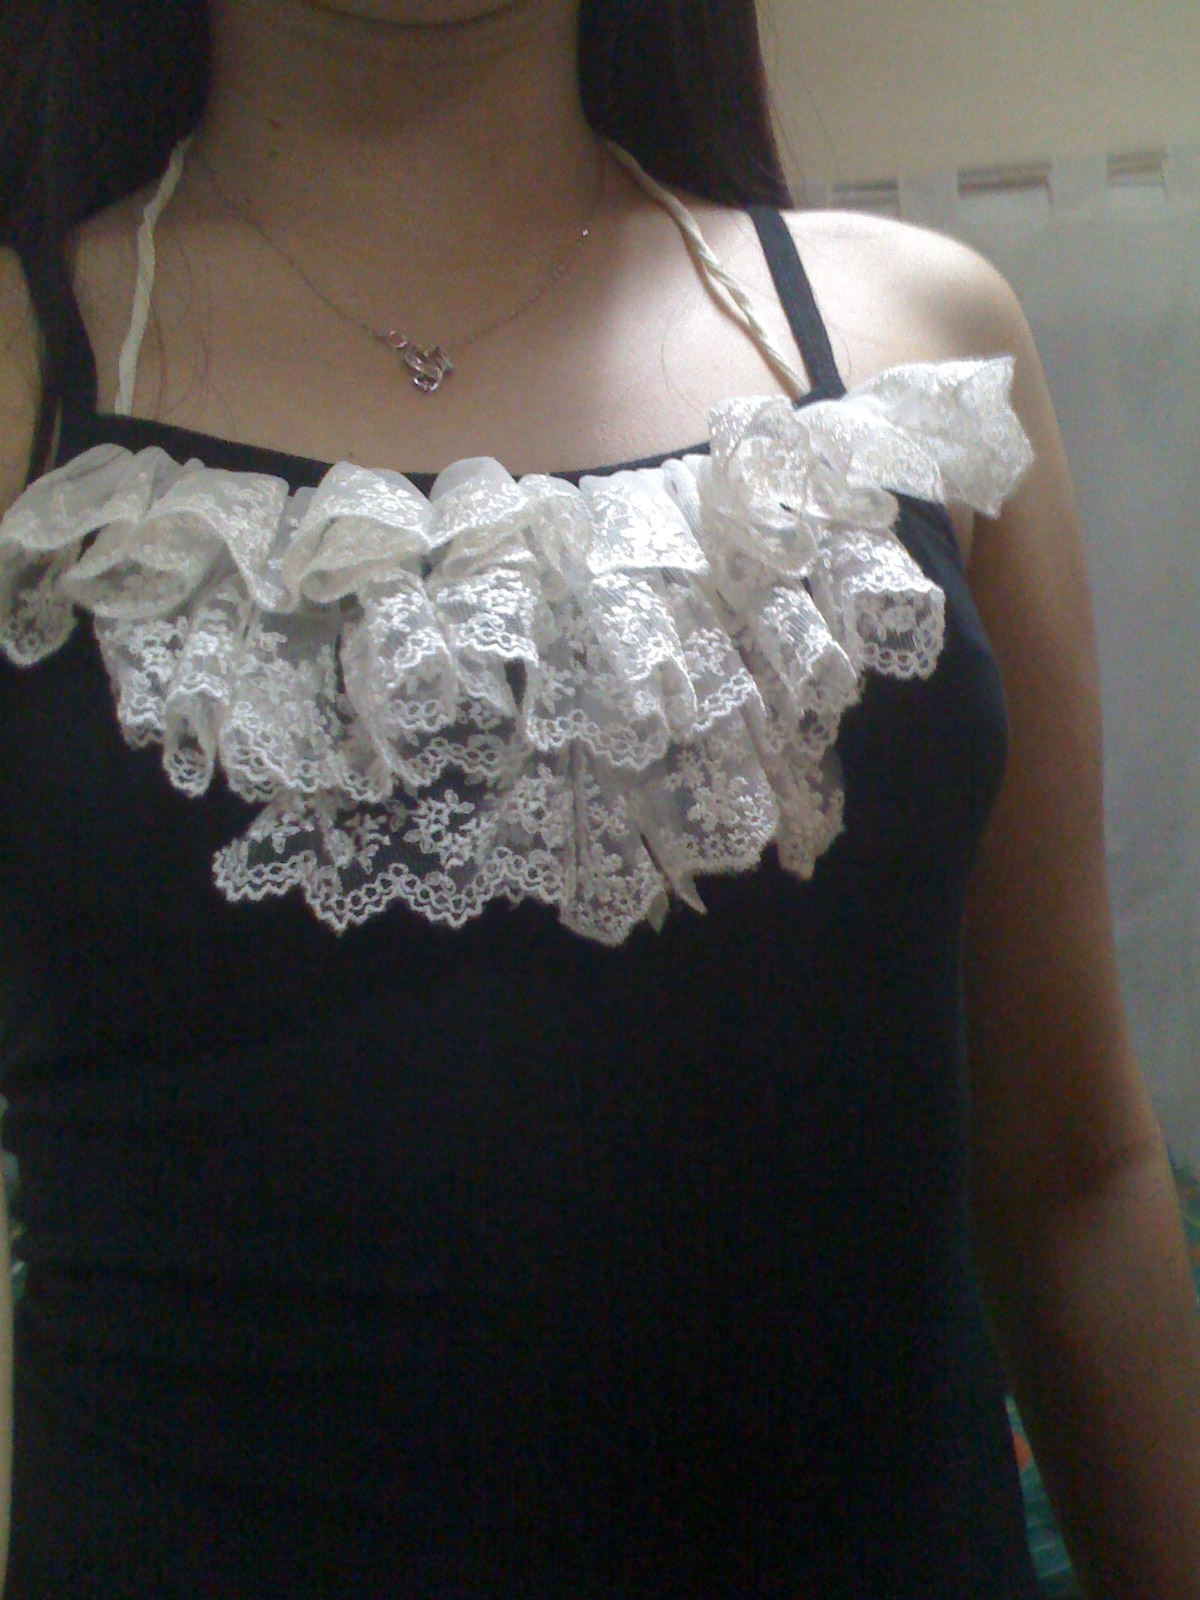
You may also make multiple lace layers! Just follow the same drill.


[caption id="attachment_189" align="aligncenter" width="225" caption="Adding a second layer"][/caption]

[caption id="attachment_190" align="aligncenter" width="225" caption="Two-tiered top"][/caption]

[caption id="attachment_192" align="aligncenter" width="225" caption="If you want, you can go up to three layers! Just don't overdo the ruffles with a fourth one. ;)"][/caption]

Price:


Making this lacy top is quite simple and inexpensive too:


Black plain top - around 50 Php (Greenhills or outfit stores)


Lace - 29 Php per meter (department store)


thread, needle, scissors - just borrow your mother's


basic sewing skills - costs only your time of learning it


Strut your lacy top!


Laces and ruffles always create an impression of girly-ness, elegance, and class in any piece of wardrobe. If you feel like you wanna turn something drab to fab, just get your creative juices flowing!

[caption id="attachment_207" align="aligncenter" width="181" caption="Lady-like!"][/caption]

*Yehay! It's my first tutorial! Sorry for the blurry snaps, I just used an iphone.

30.9.11

How to Set Up a Rummage Sale

[caption id="attachment_50" align="alignleft" width="270" caption="Turn your old stuffs into moolah - get pumpin' up for a Rummage Sale this December!"]rummage sale[/caption]

Don't throw that thing just yet -


. . . you might still turn it into cash!

Last month, I did a "rush" rummage sale in our neighborhood and raised an amount enough for a little shopping. It all started when I cleaned our house and found out that my family actually hoards tons of old but still useable clothes, toys, bags, and shoes! In fact, most of those clothes are still very "decent-looking" but were just either too small already and outdated that we're not using it anymore. And since I'm kind of poor during those times, I've decided to put up a little rummage sale by the end of the week.

Fortunately, my rummage sale was successful. I was thankful to my family for helping me out and for donating more old clothes to me. I have to admit, throwing a rummage sale requires a lot of sweat, patience, and muscles - but in the long run, the reward is so satisfying!

Yes, hoard it first.


So you want to have a rummage sale, eh? I'm not being sarcastic but yeah - unless you have an almost towering pile of useful junk collected, you aren't ready yet. Do you think you can lure in customers (who are usually passers-by) if you only have ten items displayed? Nada. Think of really huge collections - like a trunk of clothes, a big box full of shoes, a bag collection that'll make Paris H. envious, and a truckload of knick-knacks. If you're cooking up your first ever rummage/garage sale, hoard things first. You can also set a particular target date to have your sale to give you ample time to prepare for it. Be sure to take advantage of seasons too - December is usually the most advisable time for rummage sales! Anyway, let me share these few tips and tricks on how to set up a rummage sale and turn your trash into treasure!

Items


  • Group similar items. After hoarding up all those pre-loved items, the next thing you should do is to group together similar items. For instance, bags, shoes, adult's clothes, kid's items, sandals, sneakers, jeans, tops, etc. should be grouped respectively.

  • Classify. After grouping together similar items, it's time to put your assessment skills to the test - you should separate the items according to their condition. New-looking pieces and branded ones should be grouped together and labeled as class A; fairly used ones as class B; and obviously old and worn-out pieces as class C. For severely damaged ones, I suggest you throw them directly into the trash bin to avoid being labeled as --- "Garbage Seller." On the other hand, you can also recycle the damaged item. Classify the items will help you on deciding their should-be prices.

  • Decide. Repair or throw away? Sometimes, there are items which are still adorable but have slight damages. If the damage is just a minor tear, something that can be settled with a few stitches - then you can repair it. However, if the item's damage is too massive, then you should spare yourself from labor and throw it. Too lazy to do fixes? Don't worry, you can skip repairing the item and just sell it for a low price. However, based from my experience, only a few people actually settle for damaged items even at a low price (unless it's branded).


Pricing


  • Set the price right. Pricing your items is a bit tricky - you must really exercise what I call "price scrutiny". The first thing to remember in placing the price is to base it according to the condition of the item. If you did my previous tip, then this job must be easier for you. Class A items should price higher than the rest since they look good as new. You can raise the price on branded pieces eventhough they're used already - most customers do prefer buying these things; just do make sure that they're not yet damaged. Class C items should be the lowest-priced ones and Class B items' prices can be anywhere between Class A's and C's.

  • Tag it. I know this may sound meticulous but I suggest that you place a price tag for each item that you have. Don't ever settle with box labels alone. Customers usually jumble the items up and you'll never know if your items are still in their correct boxes! I painstakingly did this pricing on my own. I used a masking tape and a black marker.

  • Don't set the digits too low. Be kind to yourself. Although you're selling old stuffs already, never set the prices too low! Chances are, you wouldn't profit so well. Remember: customers love to haggle.

  •  Ask yourself. If you're really not sure of what price you're going to place upon a particular item, do ask yourself this simple question: "If I were the customer - am I willing to buy this item for (state your amount here)?" Plus, asking suggestions from your family members helps in the decision making too.


Location & Advertising


  • Space is important. Be sure to have your display settled in an area not too wide nor too narrow for a garage/rummage sale. Customers would love to have people around, but not too much that they can't even get in. On the other hand, if the area's too wide, the whole rummage sale's set would look too uncrowded and empty - thus giving an impression to passers-by that the items on sale aren't really interesting.

  • Ventilation. Make sure that the place you've chosen is not as hot as an oven. Otherwise, you wouldn't get any customers!

  • Secure permits. There are places that require permits for rummage sales, be sure to ask your local office and do process the necessary permits asap (if needed). Good thing rummage sales in our area don't need permits anymore.

  • Spread the word. You can make a big banner weeks before your target rummage date so that people will get excited and will prepare moolah for your sale. Plus, sending messages to your friends via SMS or social networking sites is also a good way to advertise! Just keep the rumor mill going about your BIG sale and you'll be surprised your whole neighborhood's there for the opening!


Final Note


On the day of the sale, be sure to prepare yourself physically because you'll definitely burn some energy up! Chug up a lot of water to keep you well-hydrated to speak to customers and deal with their endless questions and haggling. Be earth friendly too and use reusable shopping bags or brown bags instead of plastic when handing out items to your customers. And lastly, don't forget to share your blessings. Rummage sales are usually done for charity reasons - so if yours went successful, donate a portion of the proceeds to any charitable institution you like.

Well, I think I've wrapped up all I wanted to say. If you've got any questions, you can send me a quick comment and I'll be happy to help.

Rummage Sale!


29.9.11

Cleaning Up is a Challenge

Tidy Up!


If the dusts have settled in and the bed bugs do bite already, you know it's time. 


The topmost item I usually have in my "to-do" lists is cleaning my room. the problem is - it's usually the least that I actually perform. I want to have a clean room, of course - but I just don't always have the time to do so. Usually, I schedule my "spring cleaning" every month - cleaning all nooks and crannies of my room and making sure that everything is spic and span. Yeah, sounds like I've been doing the chores - but I'm not quite satisfied. I mean, I only get to clean my room per month and the thing is - after the BIG clean-up, comes second week and everything's gone chaos again! Plus, I do admit I get so "lazy" sometimes. cleaning


Over the years, I've struggled so much about this issue. During college days, I hardly had enough time to even fix my own dresser! I guess cleaning up is indeed a challenge. It's a challenge not just because it takes hardwork and effort to sweep, dust and shine the floor but because cleanliness is hard to maintain.On the other hand, though it's hard to tidy up, I know I should do it not just because I have to but because sleeping and being in a CLEAN and well-maintained room makes me feel organized and calm inside too. I guess being OC sometimes is not bad at all. In fact, when your room looks clean, you feel clean... and when your stuffs are in place - you feel so worry-free!

Successful cleaning


So I finally got the nerve to discipline myself and keep a schedule (and swore I will follow it). You see, cleaning up may be tough, but when you employ the right tactics to keep dirt and dusts at bay, it's actually not so taxing at all. Here are a few tips which I recommend you do wholeheartedly so that you'll be proud of your room  - and yourself:


    • Make a cleaning schedule and keep it. Be sure to set one day or even half from your schedule only for cleaning your room. For instance, first week of the month, first Sunday, every 21st or every last week of the month. You can also plan your schedule according to your needs and availability. If you have most of the time to yourself, then you can have a more regular schedule. The date actually depends on you  - just don't make it every Friday the 13th (because you're too afraid to get off the house) or worse, every New Year. And lastly, do swear to KEEP that schedule.

    • Gather the necessary cleaning supplies before starting the work. Having the right tools in cleaning is very important and gathering them beforehand can save you time and can smoothen your workflow. The most basic tools you'll need are a clean cloth or feather duster and broom. On the other hand, other useful tools include broomsticks (to get spider webs), cleansers, floor wax, coconut husks (to shine the floor), and vacuum. Also, don't forget to get some gloves. You wouldn't want all that dirt to touch your hands, would you?

    • Get your muscles pumped. No, this is not about working out before cleaning (seriously, did you think like that? *peace). Getting your muscles pumped meant that you do the arrangement of your room first. If you plan to move your bed or cabinet into another place then do this task before hitting the clean-up proper. Don't forget to ask for help if the thing's too heavy. Remember: "Eat the frog first!" Heavy tasks should be dealt with asap.


cleaning


  • Start with dusting/wipingoff; after which, you can attack the floor. One of the common mistakes most girls commit in cleaning up is that they start from sweeping the floor and end with dusting off display items, books, and tables. This is definitely a no-no! When cleaning your room, start with the cleanest to the dirtiest; thus, from your items - to your floor. Let's say you started off with cleaning the floor. When you finally get into dusting, the floor gets dirty again because all the dusts from your figurines, tables, and other items will all slowly fall down on it. Law of gravity, sounds familiar?

  • Organize your stuffs and maintain them that way. While performing the dusting, you can actually arrange your room items the way you wanted it. Be sure to organize your stuffs - books on the shelf, papers inside the drawer, pillows on the bed, put your things in order! In addition, be sure to maintain the organized status of your room for the rest of the month! Place items where you've taken them. Return books to the shelves. Sweep the floor everyday.

  • Throw or donate unnecessary items. Yeah, I am guilty of this. As a classic pack-rat, I usually have tons of junk gathering dust inside my room. Projects way back in grade school, test papers piling up, old knick-knacks, and toys I've already outgrown - all these things just add up to the clutter of my room! Thankfully, I've finally realized that letting go of my old and unneeded stuffs is a must if I really wanted my room to be clutter-free. Note: If you're really having a hard time giving up those items because you're looking back at the memories, you can always take a picture! A picture of your 3-foot tall baby doll (with broken limbs and empty eyeballs) is all you need to bring back the old times. Besides, memories last forever. . . Tip: Really can't just throw it away? Donating is a good option.

  • Develop the Habit.  All of these aforementioned points will serve to be useless if you don't get into the habit. Discipline is the core ingredient.


Indeed, a tidy room is a place that you'll look forward to go home to everyday. Your room must be an abode of peace and a hub of your personality - not a sanctuary for dusts and all icky creatures. The more you dedicate yourself in cleaning up your room, the more satisfaction you'll get in the long run!

For more tips about cleaning, visit tips.net - it's where I usually get my cleaning ideas.


Now get those dusters and brooms working!